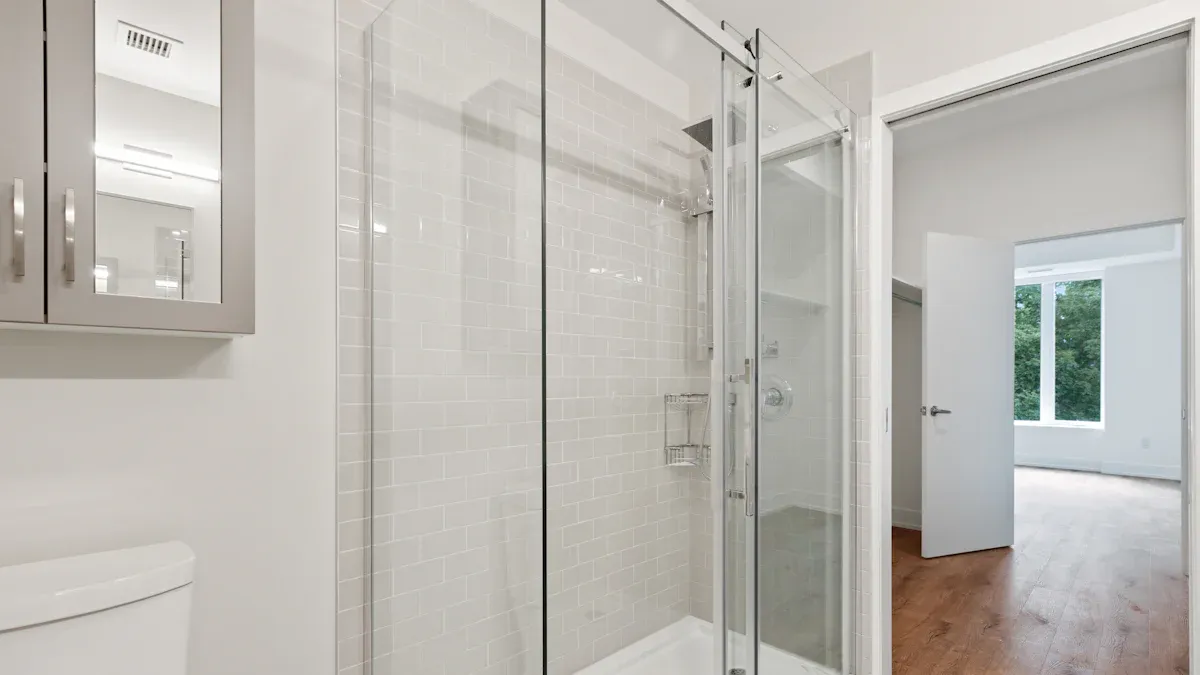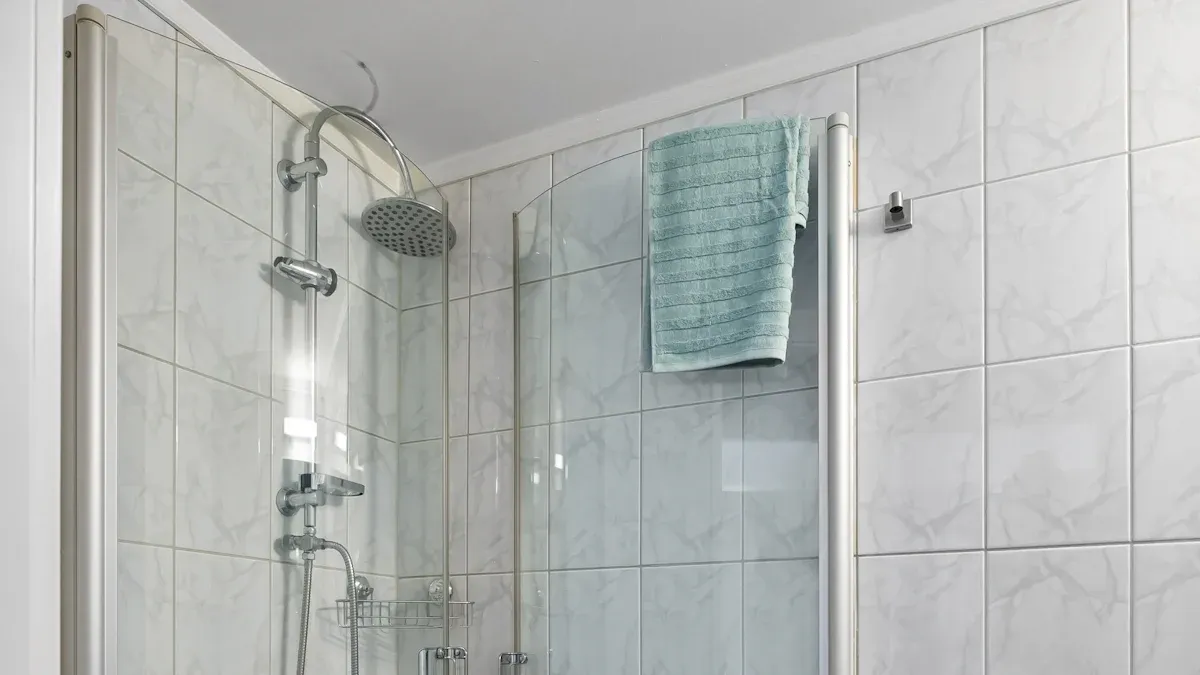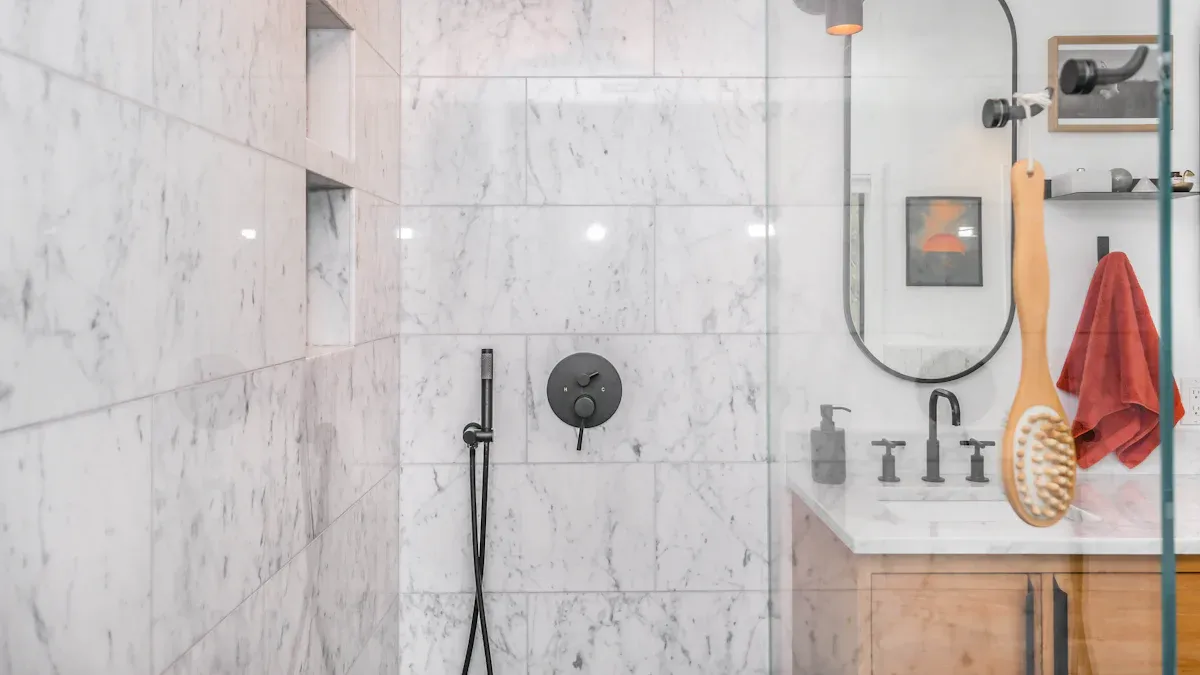
When I install PVC shower panels, I always focus on proper techniques. A well-installed panel enhances durability and ensures a sleek, professional look. These panels offer excellent value. They are affordable, easy to maintain, and perfect for modern bathrooms. With the growing demand for low-maintenance solutions, PVC shower panels are becoming a top choice for homeowners.
- The home renovation market exceeded $400 billion in 2023.
- It is expected to grow by 5.2% annually through 2030.
- More people now prefer low-maintenance bathroom designs.
Key Takeaways
- Collect all needed tools and supplies before you begin. This makes the installation easier and gives a neat result.
- Clean the shower area completely before starting. A clean surface helps the panels stick well and look perfect.
- Use good waterproof sealant to seal edges and joints. This stops water damage and makes the panels last longer.
Tools and Materials for PVC Shower Panels

When I install PVC shower panels, I always start by gathering the right tools and materials. Using the proper equipment ensures a smooth installation process and a professional finish. Let me walk you through the essentials.
Cutting and Fitting Tools
Accurate cutting and fitting are crucial for a seamless look. I rely on tools like a fine-tooth saw or a utility knife for precise cuts. A measuring tape and a straight edge help me mark the panels accurately. For curved or irregular areas, I use a jigsaw to achieve the perfect fit. These tools make it easy to customize panels for any shower space.
Adhesives and Sealants
Choosing the right adhesive is just as important as cutting the panels. I prefer waterproof adhesives designed specifically for PVC materials. They provide a strong bond and prevent water from seeping behind the panels. For sealing edges and joints, I use silicone-based sealants. These sealants are flexible and durable, ensuring long-lasting protection against moisture.
Safety Equipment
Safety always comes first. I wear safety goggles to protect my eyes from debris while cutting panels. Gloves are essential to prevent cuts and ensure a firm grip on tools. A dust mask is also helpful when sanding or cutting, as it keeps me safe from inhaling fine particles. With these precautions, I can work confidently and safely.
Tip: Always check your tools and materials before starting the installation. This saves time and ensures a hassle-free process.
Preparing the Shower Area
Before installing PVC Shower Panels, I always make sure the shower area is properly prepared. A clean and smooth surface ensures the panels adhere securely and look flawless. Let me walk you through the steps I follow to get the area ready.
Cleaning and Smoothing the Surface
I start by thoroughly cleaning the shower walls. Dirt, grease, or soap residue can weaken the adhesive bond. I use a mild detergent mixed with warm water to scrub the surface. After cleaning, I rinse the walls with clean water and let them dry completely.
Once the walls are clean, I check for any uneven spots or rough patches. These can cause gaps between the panels and the wall. I use sandpaper to smooth out any imperfections. If I find cracks or holes, I fill them with a waterproof filler and sand them down once dry. A smooth surface is key to achieving a professional finish.
Tip: Always double-check that the walls are completely dry before moving on to the next step. Moisture can interfere with the adhesive.
Measuring and Marking for Panel Placement
Accurate measurements are essential for a perfect fit. I use a measuring tape to determine the height and width of each wall. Then, I mark the dimensions directly onto the wall using a pencil. This helps me visualize where each panel will go.
For areas with fixtures like faucets or showerheads, I measure their positions carefully. I mark these spots on the wall and later transfer them to the panels. This ensures the cutouts align perfectly with the fixtures.
Pre-cutting Panels to Fit the Area
Once I have the measurements, I pre-cut the PVC Shower Panels to fit the space. I use a fine-tooth saw or a utility knife for straight cuts. For curved or irregular sections, I rely on a jigsaw. Pre-cutting the panels saves time during installation and reduces the risk of errors.
After cutting, I place the panels against the wall to check the fit. If adjustments are needed, I trim the panels slightly until they fit perfectly. This step ensures the panels align seamlessly during installation.
Note: Always handle the panels carefully to avoid scratches or damage during the cutting process.
Installing PVC Shower Panels Step by Step

Applying Adhesive to Panels and Walls
When I apply adhesive to PVC shower panels, I always make sure to use a high-quality, waterproof adhesive. This ensures a strong bond that can withstand the humid environment of a shower. I start by applying the adhesive in vertical lines or a zigzag pattern on the back of the panel. This method provides even coverage and prevents air pockets from forming. I also apply a thin layer of adhesive to the wall surface for extra grip.
Before applying the adhesive, I double-check that the walls are clean, smooth, and dry. Any dirt or moisture can weaken the bond. I also test-fit each panel to ensure it aligns perfectly with the wall. This step saves time and prevents mistakes during installation.
Tip: Always follow the adhesive manufacturer’s instructions for drying time and application techniques. This ensures the best results.
Positioning and Securing Panels
Once the adhesive is applied, I carefully position the panel against the wall. I start at the bottom and work my way up, pressing firmly to ensure the adhesive spreads evenly. For accurate placement, I use a spirit level to check that the panel is straight. If adjustments are needed, I make them quickly before the adhesive begins to set.
To secure the panel, I apply consistent pressure across its surface. This helps the adhesive bond effectively. In areas with fixtures like faucets or showerheads, I ensure the cutouts align perfectly. Proper positioning is crucial for a watertight finish and a professional appearance.
- Accurate positioning prevents water leakage and enhances the longevity of the installation.
- Sealing edges and joints ensures the panels remain secure and moisture-resistant.
- Leaving a small gap (2-3mm) at the base and edges allows room for sealant, creating a watertight barrier.
Note: Remove any screws or fixtures from the wall before positioning the panels. This ensures a smooth and even surface for installation.
Ensuring Alignment and Spacing
Proper alignment and spacing are essential for a flawless installation. I use a straight edge or spirit level to check that each panel is aligned with the others. This prevents gaps that could lead to water damage. I also leave a small gap between the panels and the shower tray to allow for sealant application. This gap ensures a secure fit and prevents water seepage.
Spacing is equally important. I make sure the panels are evenly spaced to maintain a uniform look. High-quality adhesive plays a key role here, as it keeps the panels securely in place even in wet conditions. After aligning the panels, I seal all joints and edges with a sanitary sealant. This step provides extra protection against moisture and enhances the overall durability of the installation.
- Proper alignment prevents gaps and water damage.
- Correct spacing ensures a secure fit and aesthetic appeal.
- Sealing joints and edges is crucial for a watertight finish.
Tip: Always inspect the alignment and spacing before the adhesive sets. Making adjustments early is much easier than fixing mistakes later.
Sealing and Finishing PVC Shower Panels
Sealing edges and joints
I always prioritize sealing the edges and joints when installing PVC Shower Panels. This step is essential to prevent water from seeping behind the panels. I use a high-quality waterproof sealant, applying it carefully along all edges and joints. This creates a watertight barrier that protects the walls from moisture damage. For corners, I rely on silicone sealant and corner trims to ensure a secure and professional finish.
Proper sealing not only enhances the waterproof integrity of the panels but also extends their lifespan. Skipping this step can lead to costly repairs down the line. I recommend taking the time to inspect every joint and edge after sealing to ensure there are no gaps.
Tip: Use a caulking tool to smooth the sealant for a clean and even application.
Adding trims for a polished look
To give the shower area a polished appearance, I always add trims after sealing. Trims not only enhance the aesthetics but also provide extra protection for the edges. I select trims that match the color and style of the panels for a cohesive look. Installing them is straightforward. I apply a small amount of adhesive to the back of the trim and press it firmly into place.
Trims also help cover any minor imperfections along the edges, giving the installation a professional finish. They are especially useful for areas where the panels meet the ceiling or floor. This small detail makes a big difference in the overall look of the shower.
Allowing adhesives and sealants to cure
After sealing and adding trims, I always allow the adhesives and sealants to cure fully. This step is crucial for ensuring a strong and durable bond. I follow the manufacturer’s instructions for curing time, which typically ranges from 24 to 48 hours. During this period, I avoid using the shower to prevent any disturbance to the sealant.
Patience during this step pays off. Proper curing ensures the panels remain secure and watertight for years to come. I also recommend checking the sealant after curing to confirm it has set evenly and without gaps.
Note: Avoid rushing this step. Allowing adequate curing time is key to a successful installation.
Maintenance Tips for PVC Shower Panels
Cleaning methods to avoid damage
I always clean PVC Shower Panels regularly to keep them looking new and to extend their lifespan. Using the right cleaning methods is crucial to avoid damage. Here’s what I do:
- I clean the panels with mild soap and warm water. This removes dirt and grime without harming the surface.
- I avoid abrasive cleaners or scrubbers. These can scratch the panels and ruin their finish.
- I inspect the panels periodically for any signs of wear or damage. Addressing issues early prevents further deterioration.
Regular cleaning not only keeps the panels spotless but also ensures they remain durable over time.
Tip: Always use a soft cloth or sponge for cleaning. This prevents scratches and keeps the panels smooth.
Preventing mold and mildew
Mold and mildew can be a problem in humid areas like bathrooms. I take a few simple steps to prevent them from forming on my panels:
- I increase ventilation by keeping the bathroom fan on or opening a window after showers.
- I wipe away lingering water on the panels with a dry cloth. This stops moisture from building up.
- I use natural cleaners like vinegar and baking soda. Vinegar’s acidic properties help prevent mold, while baking soda works well for scrubbing away any spots.
For a deeper clean, I spray vinegar directly onto the panels, let it sit for a few minutes, and then wipe it off. This method is effective and safe for the environment.
Note: Be cautious when using vinegar or baking soda. They can irritate the skin or eyes, so I always wear gloves during cleaning.
Inspecting and resealing for durability
To maintain the durability of PVC Shower Panels, I inspect them regularly. I check for any gaps or cracks in the sealant. If I find any, I reseal the edges and joints immediately. This prevents water from seeping behind the panels and causing damage.
I also test the adhesive bond by gently pressing on the panels. If I notice any looseness, I reapply adhesive to secure them. These small maintenance steps go a long way in ensuring the panels stay in excellent condition for years.
Tip: Schedule inspections every few months. This helps catch potential issues early and saves time and money on repairs.
Installing PVC shower panels requires careful preparation, precise installation, and regular maintenance. I always emphasize these steps to ensure a professional finish and long-lasting results.
Remember: Following best practices not only enhances durability but also keeps your shower looking sleek and modern for years. Take your time and do it right!
FAQ
How do I clean PVC shower panels without damaging them?
I use a soft cloth with mild soap and warm water. Abrasive cleaners or scrubbers can scratch the surface, so I avoid them.
Tip: Wipe panels dry after cleaning to prevent water spots.
Can I install PVC shower panels over existing tiles?
Yes, I can install them over tiles if the surface is clean, smooth, and dry. Proper preparation ensures the adhesive bonds securely.
How long does it take for adhesives and sealants to cure?
Adhesives and sealants usually take 24-48 hours to cure. I always follow the manufacturer’s instructions for the best results.
Note: Avoid using the shower during the curing period.
Post time: Apr-24-2025
